SATCHのパーティクルシステムを試してみる
パーティクルシステムを使えば、ある形状を粒子の集まりとしてとらえ、それが動き回る様子を確率モデルとして処理できます。
SATCHには、煙と火花(のようなもの)の2つが用意されています。
(独自に用意したい方は、Ogre 3Dなんかを使って作りましょう。Overlayもそうやるそうです。)
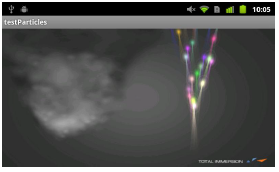
これを使って花火を打ち上げてみました。
(まあ、見ようによっては、花火工場の爆発みたいに見えますけど....)
サンプルでは、2つは別々の位置で、バックグラウンドの画像上に出て、起動直後から派手にポンポン上がってます。
今回は少々変更して、カメラ画像の中で、同じ位置に表示して、キークリックで、打ち上げ->終了をやってみます。
この夏、花火大会に行きそびれた方、お試しください。
New
パーティクルファイルのパラメータをいじって、いろいろな効果を試してみました。
インストール

TOP
SATCH側
サンプルTESTSの「testParticles」を使用します。
サンプルのオリジナルでは、カメラの設定がされていません。
Satch Studioを起動後、カメラの設定をしてください。
サンプルにはカメラ設定用のファイルがないので、以下をダウンロードして、フォルダーにコピーしておいてください。
Files
バックグラウンドも必要ないので、tiBg.ddsを削除し、Outlinerからbgもdeleteしてください。
このページのカメラ設定の項を参照。
煙と火花の位置を合わせたい場合は、パーティクルのLocationのX座標を0に設定。
パーティクルのスクリプト(Script1、Script3)は、共通でTestParticles.luaを使っています。
Luaを以下のように変更。
【Luaコード】
Java側
基本的には、以下のコードを追加するだけ。
TOP
リアルカメラの初期設定
●ビデオキャプチャー・オブジェクトをシナリオに追加
メニューバー --> Add --> 2D Elements --> Videocapture
Name --> videocapture_live
Resource file --> trackerフォルダ内のvideoConfig_webcam_640x480_15fps.xml --> OK
●ビデオキャプチャーの設定
Outlinerのvideocapture_liveを右クリック --> Edit Properties
Object editorのAlternative platformにチェック
Platform alternative resource file
android --> trackerフォルダ内のvideoConfig_android_backcam_320x240_15fps.xml
Set initial valuesボタンをクリック
●テクスチャーにビデオキャプチャーを適用して、シーンに追加
メニューバー --> Add --> 2D Elements --> Videotexture
Name --> videotexture_live --> OK
Outliner --> videotexture_liveを選択
Object editor --> Video Textureの枠内
Video capture --> videocapture_live
Set initial valuesボタンをクリック
●ビデオ・テクスチャーをViewportに適用
Object Editor --> viewportを選択
Background Textureパラメータ --> videotexture_liveに変更
Set initial valuesボタンをクリック
●シナリオを保存
メニューバー --> File --> Save
バーチャルカメラの設定
●リアルカメラに対応するように、バーチャルカメラのパラメータを定義
Object editor --> camera
Camera parameters枠内
Calibration file --> tracker内のcameraCalib_webcam_640x480.xml
Alternative platformにチェック
Platform alternative resource file
android --> trackerフォルダ内のcameraCalib_android_320x240.xml
Set initial valuesボタンをクリック
Camera parameters枠内
Calibrateボタンをクリックして確認
パネルタブの左上にある"X"ボタンをクリックし、Camera Calibrationパネルを閉じる
Studioタブを選択
File --> Save
以上です。
TOP

水平
線香花火
キャプチャ画像では実感しにくいですが、パチパチはじけてます。
綿が舞い落ちるような不思議な効果
これもキャプチャ画像では実感しにくいですが、パチパチっとはじけ、断片がフワフワ舞い落ちる感じです。
【煙】
testParticlesフォルダー/particles/smoke.particle
(*)が変更部分です。
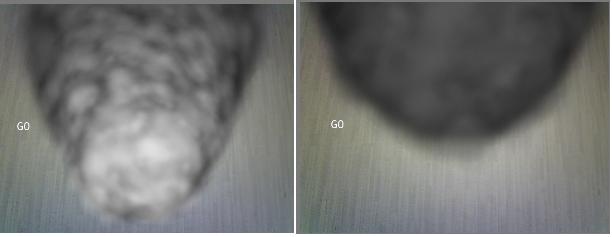
オリジナル
全体に煙が拡散する感じ
煙が出たり消えたり
煙が小さな範囲で回っているような不思議な効果
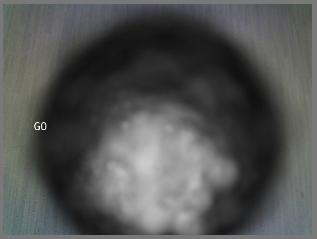
で、こういう効果を使って、別途「爆発」バージョンを作ってみました。
SATCHのパーティクルシステムを試してみる2
TOP
トップページ| サイトマップ|
SATCHには、煙と火花(のようなもの)の2つが用意されています。
(独自に用意したい方は、Ogre 3Dなんかを使って作りましょう。Overlayもそうやるそうです。)
これを使って花火を打ち上げてみました。
(まあ、見ようによっては、花火工場の爆発みたいに見えますけど....)
サンプルでは、2つは別々の位置で、バックグラウンドの画像上に出て、起動直後から派手にポンポン上がってます。
今回は少々変更して、カメラ画像の中で、同じ位置に表示して、キークリックで、打ち上げ->終了をやってみます。
この夏、花火大会に行きそびれた方、お試しください。
New
パーティクルファイルのパラメータをいじって、いろいろな効果を試してみました。
こんな感じ
サンプルのオリジナルです。
こういう風に変更してみました。
夜景を背景にして...。
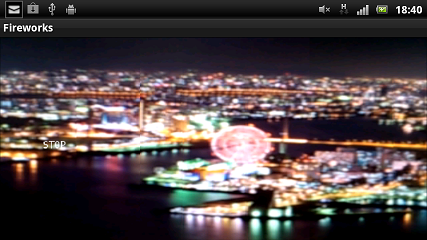
メニュキー をクリックして打ち上げ(爆発にしか見えないような気も....)。

再度、メニュキーをクリックして終了。

インストール
TOP
コード
SATCH側
サンプルTESTSの「testParticles」を使用します。
サンプルのオリジナルでは、カメラの設定がされていません。
Satch Studioを起動後、カメラの設定をしてください。
サンプルにはカメラ設定用のファイルがないので、以下をダウンロードして、フォルダーにコピーしておいてください。
Files
バックグラウンドも必要ないので、tiBg.ddsを削除し、Outlinerからbgもdeleteしてください。
このページのカメラ設定の項を参照。
煙と火花の位置を合わせたい場合は、パーティクルのLocationのX座標を0に設定。
パーティクルのスクリプト(Script1、Script3)は、共通でTestParticles.luaを使っています。
Luaを以下のように変更。
【Luaコード】
local lParts = Particles(getCurrentScriptOwner())
local lLastTime = os.time()
local lPaused  = false

local text = Text2D(getCurrentScene():getObjectByName("textboard"))
local componentInterface = getComponentInterface()

s_type = ""


lParts:stop()

repeat

    if s_type == "go" then
        text:setText("GO")
        lParts:start()
    end


    if s_type == "stop" then
        text:setText("STOP")
        lParts:stop()
    end


    isCommand, command = componentInterface:pullCommand()
    if isCommand then
        if command["CommandName"] == "trigger" then
            s_type = command["arg0"]
        end
    end


until coroutine.yield()
Java側
基本的には、以下のコードを追加するだけ。
private String status = "stop";


//途中省略

@Override
public boolean onKeyDown(int keyCode, KeyEvent msg){
switch(keyCode){
case android.view.KeyEvent.KEYCODE_MENU :
    //
    String[] args = new String[1];

    if (status.equals("stop")) {
        args[0] = "go";
        status = "go";

    } else if (status.equals("go")) {
        args[0] = "stop";
        status = "stop";
    }


    _kddiComponent.enqueueCommand("trigger", args);
    //
    return true;

    case android.view.KeyEvent.KEYCODE_BACK :
    showDialog( DIALOG_EXIT );
    return true;
}
return false;
}
TOP
カメラ設定
リアルカメラの初期設定
●ビデオキャプチャー・オブジェクトをシナリオに追加
メニューバー --> Add --> 2D Elements --> Videocapture
Name --> videocapture_live
Resource file --> trackerフォルダ内のvideoConfig_webcam_640x480_15fps.xml --> OK
●ビデオキャプチャーの設定
Outlinerのvideocapture_liveを右クリック --> Edit Properties
Object editorのAlternative platformにチェック
Platform alternative resource file
android --> trackerフォルダ内のvideoConfig_android_backcam_320x240_15fps.xml
Set initial valuesボタンをクリック
●テクスチャーにビデオキャプチャーを適用して、シーンに追加
メニューバー --> Add --> 2D Elements --> Videotexture
Name --> videotexture_live --> OK
Outliner --> videotexture_liveを選択
Object editor --> Video Textureの枠内
Video capture --> videocapture_live
Set initial valuesボタンをクリック
●ビデオ・テクスチャーをViewportに適用
Object Editor --> viewportを選択
Background Textureパラメータ --> videotexture_liveに変更
Set initial valuesボタンをクリック
●シナリオを保存
メニューバー --> File --> Save
バーチャルカメラの設定
●リアルカメラに対応するように、バーチャルカメラのパラメータを定義
Object editor --> camera
Camera parameters枠内
Calibration file --> tracker内のcameraCalib_webcam_640x480.xml
Alternative platformにチェック
Platform alternative resource file
android --> trackerフォルダ内のcameraCalib_android_320x240.xml
Set initial valuesボタンをクリック
Camera parameters枠内
Calibrateボタンをクリックして確認
パネルタブの左上にある"X"ボタンをクリックし、Camera Calibrationパネルを閉じる
Studioタブを選択
File --> Save
以上です。
TOP
パラメータをいじってみる
SATCHにはサンプルで、煙と火花のパーティクルが用意されています。
それぞれのファイルのパラメータを変更して、効果をみてみました。
【火花】
testParticlesフォルダー/particles/Example.particle
(*)が変更部分です。
オリジナル
emitter Point
{
    angle           15
    emission_rate   75
    time_to_live    3
    direction       0 1 0
    velocity_min    250
    velocity_max    300
    colour_range_start  0 0 0
    colour_range_end    1 1 1
}
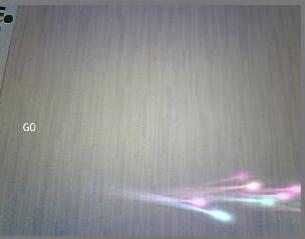
水平
emitter Point
{
    angle           15
    emission_rate   75
    time_to_live    3
    direction       ±1 0 0 (*)
    velocity_min    250
    velocity_max    300
    colour_range_start  0 0 0
    colour_range_end    1 1 1
}
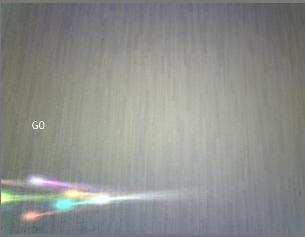
線香花火
キャプチャ画像では実感しにくいですが、パチパチはじけてます。
emitter Point
{
    angle           90(*)
    emission_rate   75
    time_to_live    -3(*)
    direction       0 1 0
    velocity_min    250
    velocity_max    300
    colour_range_start  0 0 0
    colour_range_end    1 1 1
}
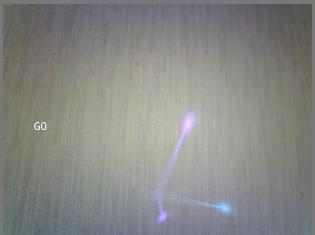
綿が舞い落ちるような不思議な効果
これもキャプチャ画像では実感しにくいですが、パチパチっとはじけ、断片がフワフワ舞い落ちる感じです。
emitter Point
{
    angle           15
    emission_rate   75
    time_to_live    3
    direction       0 0 -1(*)
    velocity_min    250
    velocity_max    300
    colour_range_start  0 0 0
    colour_range_end    1 1 1
}
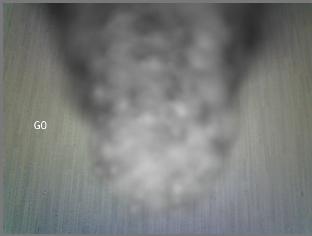
【煙】
testParticlesフォルダー/particles/smoke.particle
(*)が変更部分です。
オリジナル
emitter Point
{
    angle		  0
	emission_rate 15
	time_to_live  4
	direction	0 0 1
	velocity_min  100
	velocity_max  150
}
全体に煙が拡散する感じ
emitter Point
{
    angle		  100(*)
	emission_rate 15
	time_to_live  4
	direction	0 0 1
	velocity_min  100
	velocity_max  150
}
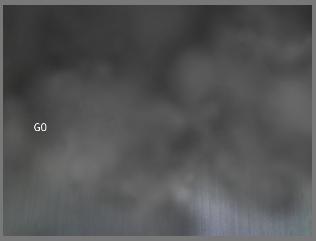
煙が出たり消えたり
emitter Point
{
    angle		  0
	emission_rate 300(*)
	time_to_live  4
	direction	0 0 1
	velocity_min  100
	velocity_max  150
}
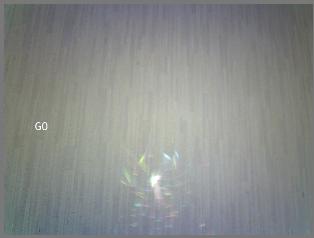
煙が小さな範囲で回っているような不思議な効果
emitter Point
{
    angle		  0
	emission_rate 15
	time_to_live  4
	direction	0 1 0(*)
	velocity_min  100
	velocity_max  150
}
で、こういう効果を使って、別途「爆発」バージョンを作ってみました。
SATCHのパーティクルシステムを試してみる2
TOP
トップページ| サイトマップ|