SATCHを使ってArt_ProjectでAR(マルチ・トラッキング)
ここでは、マルチ・トラッキングをやってみます。
トラッキング画像が違えば、違う文字を表示してみます。
目次
準備
画像を用意します。
画像の準備の仕方は、SATCHを使ってArt_ProjectでAR
を参照。
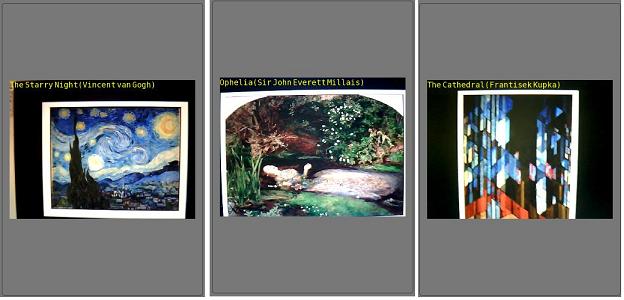
今回は3枚の画像を使ってみます。
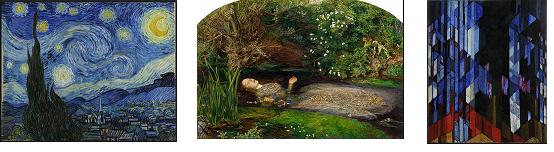
左から、
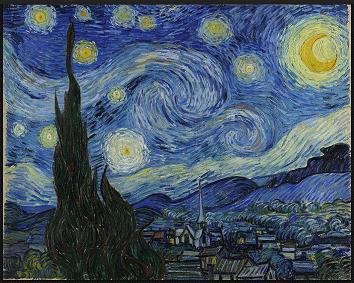
The Starry Night(Vincent van Gogh) 19 x 15
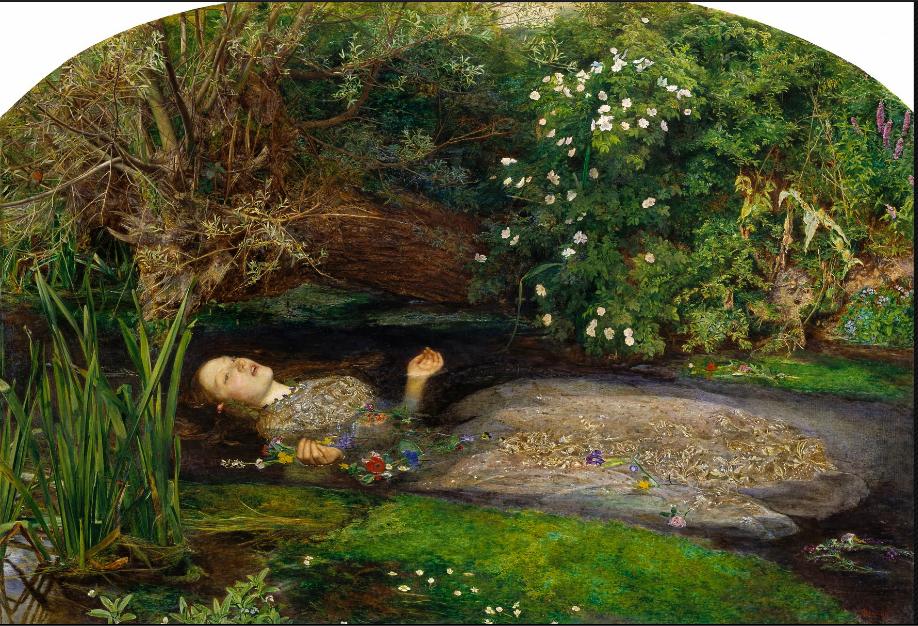
Ophelia(Sir John Everett Millais) 25 x 17
The Cathedral(Frantisek Kupka) 15 x 18
単位はcm。
TOP
SATCHで読み込んでトラッキングを確認
操作の手順は、SATCHを使ってArt_ProjectでAR
とだいたい同じ。
「バーチャルカメラの設定」までが終わっているものとして、トラッキング・シナリオを作ります。
Tools -> Computer Visionを選びます。
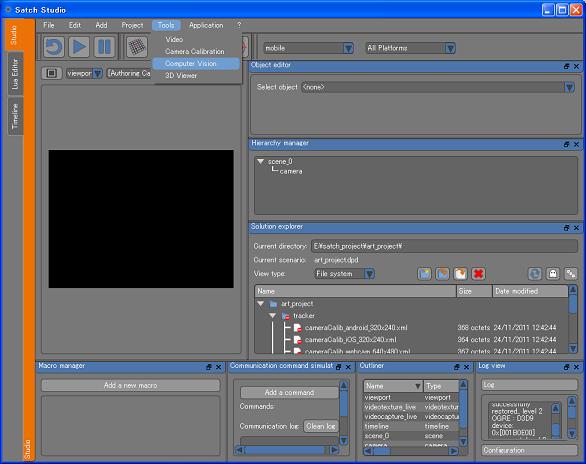
mode --> Lite
Userlevel --> Advanced
Scenario Mangerタブ
Createボタンをクリック
Target TypeがPlaneになっていることを確認

①:サイズを先に記録しておいたものに変えて、Applyボタンをクリック。
②:Imagesボタンをクリックして、保存しておいた画像を読み込みます。
③:Displayボタンをクリック。
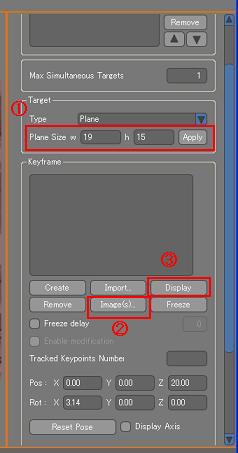
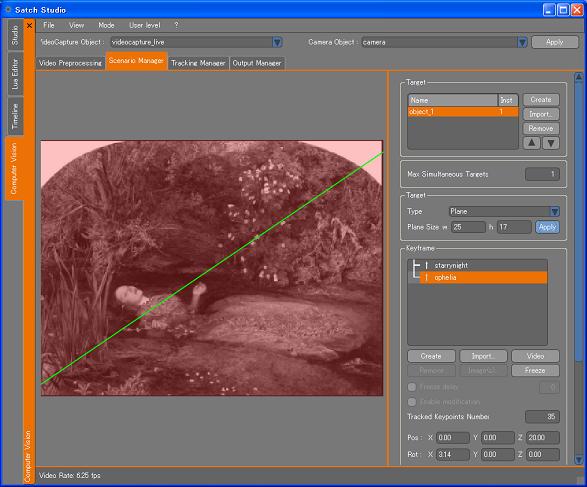
下のような画面に変わります。

「Video」ボタンをクリックして、①、②、③
の工程を繰り返します(新しいTargetは作らないでください、1つのターゲットに複数のイメージをセットします)。
サイズが有効に反映しているのか、ちょっと疑問ですが、結果オーライです。
以下の3の数字を1に変更して、「Generate Classifiers」ボタンをクリック。
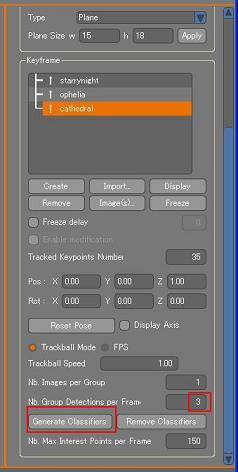
作業完了後、こんな感じになります。

トラッキングの確認とシナリオの保存を以下の手順で実行します。
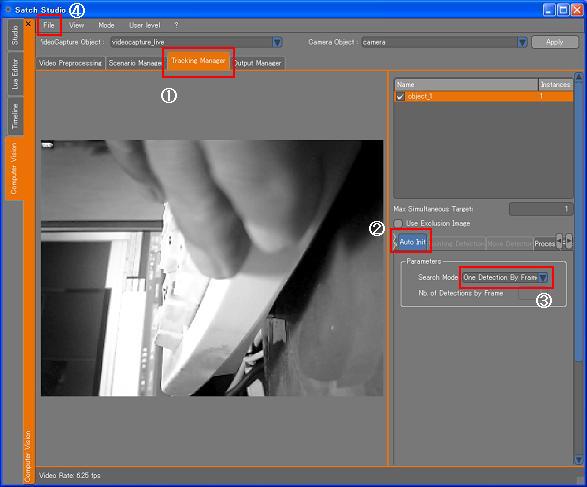
①:Tracking Manager
②:Auto Init
③:One Detection By Frame
④:File --> Save As
trackerフォルダーにtracker.xmlで保存
Luaスクリプトをオブジェクトとしてシナリオに追加
左横のStudioタブを選択
Solution Explorer --> tracking.luaを選択
3Dビューへドラッグ&ドロップ
Outliner --> luascriptを選択
Object Editor --> Edit Object Nameをクリック
「tracking」に名称変更
Set initial valuesボタンをクリック
Outliner -> trackingを右クリック -> Open in Lua Editor
Luaスクリプトのサンプル
local text = Text2D(getCurrentScene():getObjectByName("text"))
-- GLOBAL VARIABLES
-- tracking statuts: if 1 : tracking, if 0 : no tracking
gtrackingStatus = 0
-- get the keyframe index from a tracked object with auto-initialization
gtrackingKeyFrameIndex = -1
-- scene
local scene = getCurrentScene()
-- get the virtual camera, will be used to send to the MLT
local camera = Camera(scene:getCurrentCamera())
-- get the videocapture, will be used to send to the MLT
local videoCapture_live = VideoCapture(scene:getObjectByName("videocapture_live"))
-- Tracking
local MLTPlugin = getMLTPluginManager()
-- Error status
local errorStatus = eOk
-- tracking index : the index of the tracker.xml (because we can open more than 1 tracking.xml file).
local trackingIndex = -1
-- the fps of the Tracking engine
local trackingRate = 0
-- vector to put the tracking position
local trackingPosition = Vector3()
-- quaternion to put the tracking orientation
local trackingOrientation = Quaternion()
-- 3D object receiving tracking pose
--local trackingObject = Object3D(scene:getObjectByName("Tracking_Object"))
-- object index from the tracking scenario (0 : first object, 1 : second object...) (this is the index in the "Objects" panel of the CV GUI)
local trackingObjectIndex = 0
-- this is how to start a tracking. the function needs the path to the tracker.xml file, the videocapture id and the camera object.
errorStatus, trackingIndex = MLTPlugin:startTracking("tracker/tracker.xml", videoCapture_live:getVidCapID(), camera)
-- if the tracking has correctly started, we can proceed to an infinite loop
if errorStatus == eOk then
repeat
errorStatus, gtrackingStatus = MLTPlugin:getTargetStatus(trackingIndex, trackingObjectIndex)
errorStatus, gtrackingKeyFrameIndex = MLTPlugin:getRecognizedKeyFrameIndex(trackingIndex, trackingObjectIndex)
-- if our object is detected...
if (gtrackingStatus == 1) then
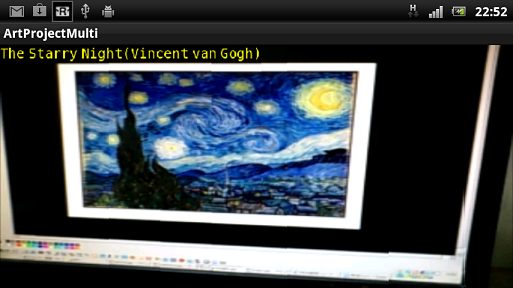
if gtrackingKeyFrameIndex == 0 then
text:setText("The Starry Night(Vincent van Gogh)")
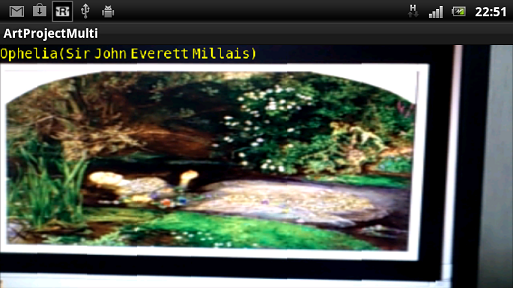
elseif gtrackingKeyFrameIndex == 1 then
text:setText("Ophelia(Sir John Everett Millais)")
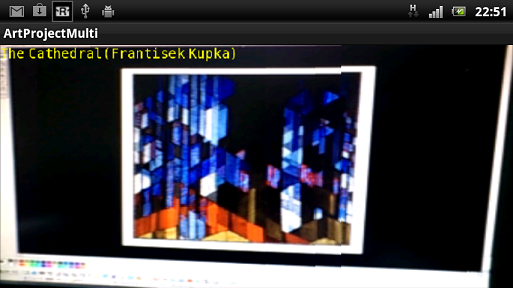
elseif gtrackingKeyFrameIndex == 2 then
text:setText("The Cathedral(Frantisek Kupka)")
end
text:setVisible(true)
-- if the tracking is lost
else
text:setVisible(false)
end
until coroutine.yield()
end
サンプルを実行すると、こんな感じになります。
Androidならこんな感じ。
To be continued.
TOP
公開用Google ApiKey取得
ViewFlipperサンプルでは、MapViewを使ってGoogle Mapsを表示しています。
このサンプルを使って新しくプロジェクトを作成し
apkを公開する場合、公開用のGoogle Apiキーを取得する必要があります。
ここでは、既にキーストアが作成されているものとします。
キーストアの作成やデジタル署名したapkの作成方法は、
PhoneGapでネイティブアプリ
の、「ネイティブアプリを作って、ダウンロード・インストール」の項を参照。
まず、DOS窓を開きます。
以下のコマンドを発行。
keytool -list -keystore <作成したキーストアのフルパス>
パスワードを聞いてきますので、これもキーストア作成時のパスワードを使用。
証明書のフィンガープリントが表示されます。
Sign Up for the Android Maps API
のページを開きます。
ページの下の、I have read and agree ...にチェックを入れ、My certificate's MD5 fingerprint:の欄に先ほどのフィンガープリントを入力して、Generate API Keyのボタンをクリック。
表示されたキーが公開用のキーになります。
これを、res->layout->map.xmlのandroid:apiKeyにセットします。
これで、MapViewでGoogle Mapsが表示されるようになります。
TOP
トップページ| サイトマップ|