標高、 標高II (jQuery Mobile)(β)
jQuery MobileをUIにして、Google Maps V3で標高(Elevation)を表示してみます。
初期位置は、GeoLocationを使って測位します。
動作確認は、Experia acro(docomo)で行っています。
その他は、分かりません(まだエミュレータの準備、してません)。
標高
標高II
標高 使い方
| 標高 (jQuery Mobile) |
|---|
| Elevation (jQuery Mobile) |
|---|
ここでは、jQuery Mobile をUIとして使っています。
PCでjQueryに慣れている人にはやりやすいでしょう。
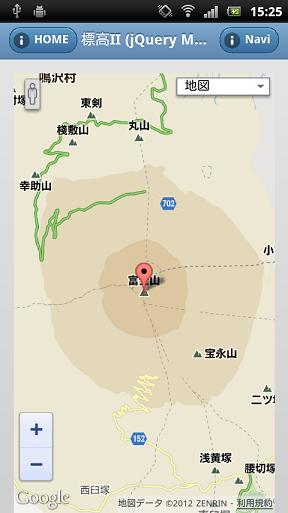
初期画面はこんな感じ。
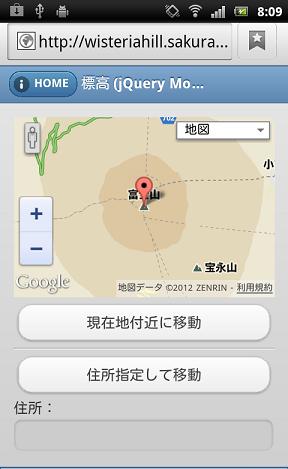
初期位置は「富士山」...です。
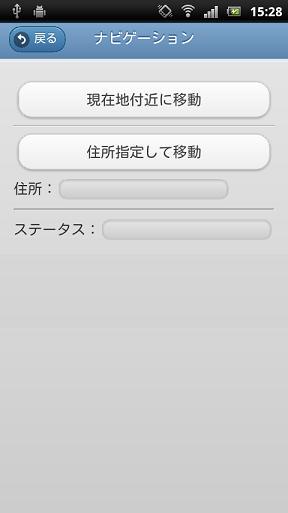
 をタップして操作画面に移動。
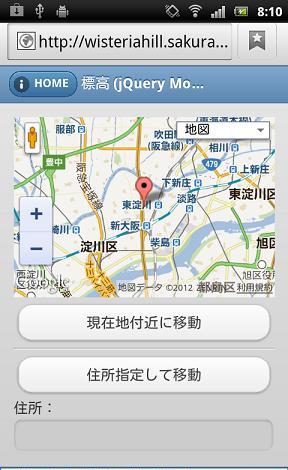
「現在地付近に移動」ボタンをタップしてトラッキングを行います。
測位が終わるとこんな感じの画面になります。
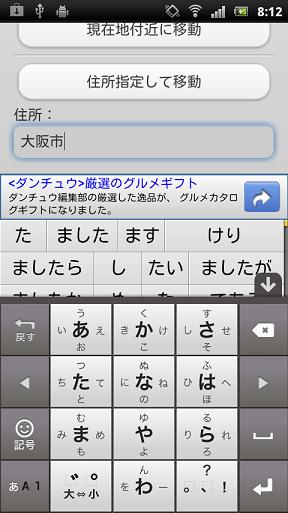
住所を指定して移動する場合は、まず住所欄をタップして入力、その後、移動ボタンをクリック。
で、標高の確認は、マーカーをタップ。吹き出しで表示、こんな感じになります。
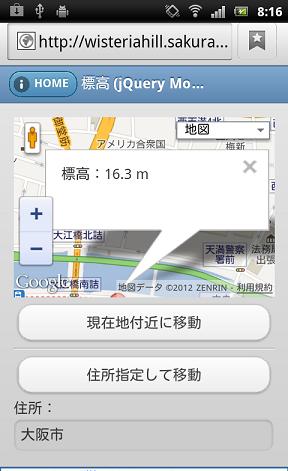
因みにマーカーはドラッグで移動します。
マーカー位置にに復帰する場合は、
 をタップ。
をタップ。
吹き出しが出ている場合は、吹き出しも隠します。
TOP
標高II 使い方
| 標高 II(jQuery Mobile) |
|---|
| Elevation II (jQuery Mobile) |
|---|
初期画面はこんな感じ。
Naviボタン、
をタップして操作画面に移動。
「住所指定して移動」のボタンが追加されています。
後の操作は、上記で述べているとおりです。
TOP
スポンサー リンク